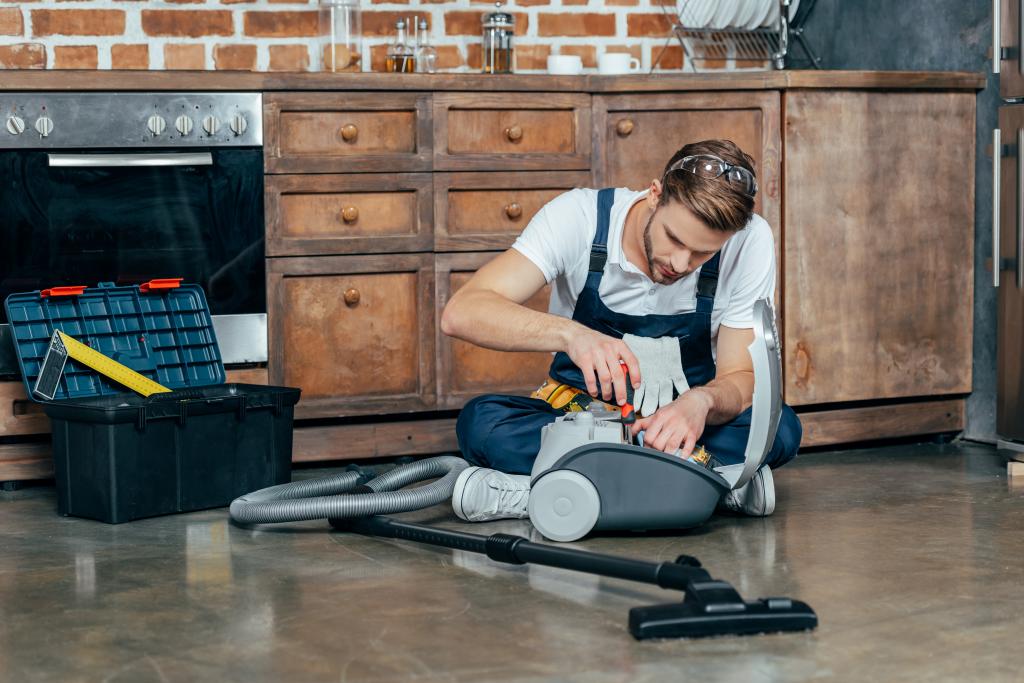
Something's broken in the living room? You can fix that!

By: Erica Alves
Your living room is a space for relaxation and recreation, so it’s natural to want your items to work properly and look clean. The key is regular maintenance and repair of your everyday things. Not only does it cause less stress in the long run, it also teaches you new skills and can become a rewarding hobby. The more you see things go from old to new as a result of your work, the more rewarding it can feel.
Before trying the tips below, start with the basics:
- If the appliance is electric, check your outlet by using a receptacle tester or simply plug your appliance into a different outlet.
- See if your owner’s manual has troubleshooting tips. If you can’t find the owner’s manual, many are available with a quick online search. If these basics do not work, try the following repair and maintenance tips.
Plug-in fans
If your electric fan stopped spinning or is spinning slower than usual, lubricating and cleaning might solve your problem. Start by turning off and unplugging your fan. Then, disassemble your fan (this varies by machine so check your owner’s manual for this step). It can be helpful to take a picture before disassembly, so you remember where each piece and part goes for reassembly.
Once you remove the guard and the blades, clean the area behind it. This usually includes a pin and the bearings. The most common fan “cloggers” are dust and hair, so go outside or open a window for proper ventilation. Use small scissors to cut the hairs and a rag or compressed air to clean the dust. Next, clean and dust the blades and guard.
Grab a lubricant and locate the bearings and pin again. If possible, make your fan face the ceiling, so the pin looks vertical rather than horizontal. Put a drop or two of lubricant right above the pin. As it runs down, spin the pin to get the lubricant in the bearings. Then, simply reattach the blades and guard.
Coffee Table
Wooden coffee tables often get water damage from cups. Coasters are a great way to prevent stains, but if you already have white or light-colored marks, it’s an easy fix. It’s recommended to spot test each of these techniques before applying to a larger area.
Grab an oily furniture polish, antique oil or finishing oil. If you don’t have this type of oil, try stirring an equally small amount of vinegar and olive oil in a bowl. Apply a small amount of the oil or polish to the damaged area. Then, use steel wool to rub it in. You can also use a cloth to apply the mixture if you do not have steel wool. As you rub it in, make sure to follow the direction of the wood grain. Clean off the excess oil with a damp cloth.
Another option is to squeeze a pea-size amount of regular toothpaste on a wet cloth and gently rub it in the area until the stain disappears. Wipe off any excess with a damp cloth. If the stain remains, mix a bit of the toothpaste with an equal amount of baking soda and try again.
To finish it off, apply some wax to the wood for protection. A thin layer of wax paste works best. Allow it to dry thoroughly for about 30 minutes.
Vacuums
Regular maintenance can help keep your vacuum working longer. When cleaning your vacuum, you will likely be dealing with dirt and dust, so go outside or stay in a well-ventilated area while working on it. You may also want to wear a face mask and rubber gloves for extra protection.
Start by making sure your vacuum is turned off and unplugged. If your vacuum has a floor brush, start by cleaning this part first. To remove the brush, you may need a screwdriver or you may be able to slide it off by gently twisting and pulling. Check your owner’s manual for instructions specific to your machine. Use scissors to cut off any hairs or strings that may be wrapped around the brush. Get rid of the remaining dust and lint by shaking over a trash bin. If you still have dirt stuck to the brush, clean it with warm water and a mild detergent. Let it dry completely, then reattach. If your vacuum uses a beater bar, the same treatment can be performed with it.
If your vacuum uses a bag and suddenly stops working, try replacing the bag. Many machines won't turn on if the bag is full. If it smells bad but isn’t full yet, try pouring a little vanilla extract on a paper towel. Then, cut it up into small pieces and vacuum it.
If your upright vacuum cleaner stops working, empty out the dust canister. Machines with hoses often stop working when there are blockages in the tubes. Many hoses detach by unscrewing, but it is best to check your owner’s manual to see how your vacuum works. If you find any blockages, use a broomstick to carefully force them out and then reattach. Some vacuums also have additional filters, check the owner’s manual to find where those may be located, and be sure to remove any dust accumulation there as well.
Want more repair tips? Check out our other repair blogs, including kitchen repair and general repair. Watch clips from our previous Fix-It classes and sign up for the Fix-It newsletter to find out when the next workshops will take place. If you need professional assistance, your item is broken beyond repair or you need to get rid of something, check out the Austin Reuse Directory, which is re-launching later this fall.
